FIRST LIGHT WITH A SOLAR TELESCOPE
DO NOT LOOK AT THE SUN WITH THE NAKED EYE, BINOCULARS OR A TELESCOPE NOT ESPECIALLY DESIGNED FOR SOLAR OBSERVING
Society president Andrew Atterbury has recently acquired are specialist solar telescope. This is how he has been getting on with it. The images are at the bottom of the page.
These are my first attempts at the Solar imaging with the DayStar Solar Scout 60mm DS Dedicated H Alpha Solar Telescope. I purchased this recently from The Widescreen Centre.
This works in a slightly different way to most other dedicated Solar telescopes, and is also constructed in a different way. The Blocking filter is placed at the front of telescope, after the Objective lenses. This blocking filter transmits the wavelengths near to the H Alpha range, whilst everything else is reflected back. After the blocking filter, this telescope has built in telecentric Barlow lens elements, that the light passes through to achieve a more parallel light path and a slower focal ratio. The Etalon is near to the image plane, where you look, and passes a narrow band of light, but is sensitive to the angle of light and temperature.
This is where the difference is with the DayStar compared to other H-Alpha systems. The Etalon is heated to between approximately 38 degrees Celsius (100 degrees Fahrenheit) and approx. 66 degrees Celsius (150 degrees Fahrenheit) to control the wavelength passed to the image plane. This is what you tune. There is a knob that you use to adjust the centre wavelength of the filter. If you turn this Clockwise, then this raises the wavelength towards the red by 0.5 Angstroms. If you turn it anti-clockwise, then you lower the wavelength towards the blue by 0.5 Angstroms. There are several click positions in each direction, and each click is 0.1 Angstroms.
Because we are tuning to the red or blue, then tuning enables you to observe features that are Doppler shifted towards you or away from you. Tuning Counter-clockwise means that features moving towards you are brighter and tuning clockwise makes features moving away from you become brighter.
The system is particularly designed for imaging rather than looking. It can be used this way, but the features become brighter when you image them. You have to experiment with the exposure though. Recording the edge features seem to require a longer exposure. 1/20 of a second seemed optimal. The system has an effective focal length of 930 mm, and image of the Sun appears reasonably large in the field of view. When viewing, various eyepieces can be used for viewing, but not all eyepiece designs are good, but if you have Plossl eyepieces these are good to use with this system.
As I said, the Etalon is heated, so this requires a 2 Amp power source. Once you connect this to the telescope with the USB cable and switch on, it starts heating the Etalon. There is an LED, and this remains yellow until it reaches temperature, and then it turns green. At this point it is ready to use. The Etalon for each tune can take 5 to 10 minutes to settle in temperature. It is supposed to improve what you can see when tuning, but the disadvantage is that you have to wait for each tune turn to reach the required temperature.
I also obtained the Skywatcher SolarQuest and tripod, and this has a Solar sensor and takes it about 2 minutes to acquire the GPS signal. Once it has done this, then it slews the telescope to the altitude angle of the Sun and then in azimuth to place the Sun in the filed of view. A little adjustment may be needed to centre the Sun in the field of view and after this even if cloud covers the Sun it keeps on following the Sun and keeps it in the Centre of the filed of view. This has preformed really well.
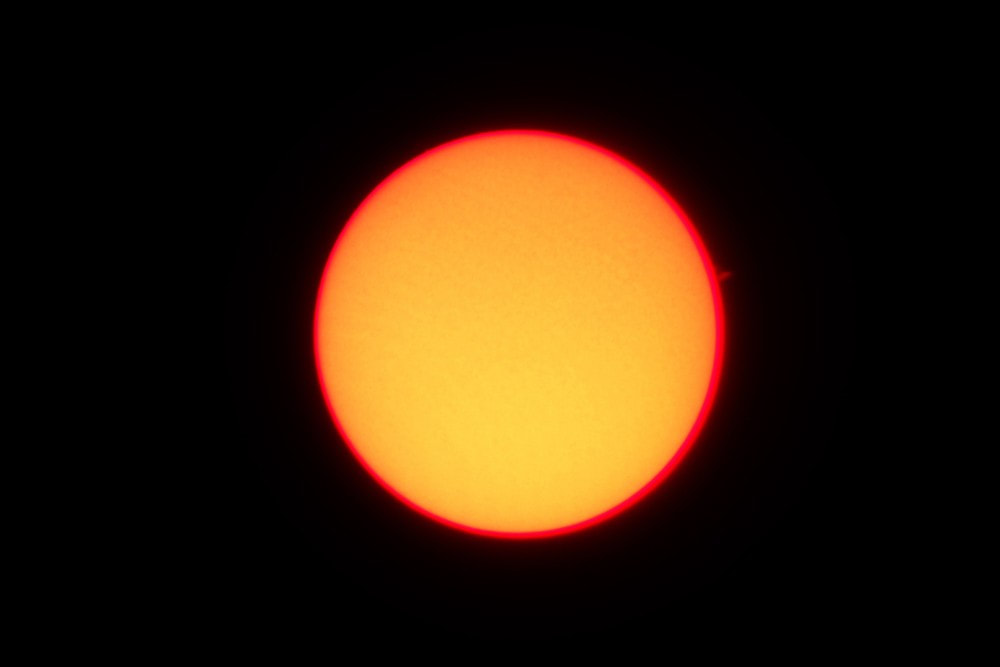
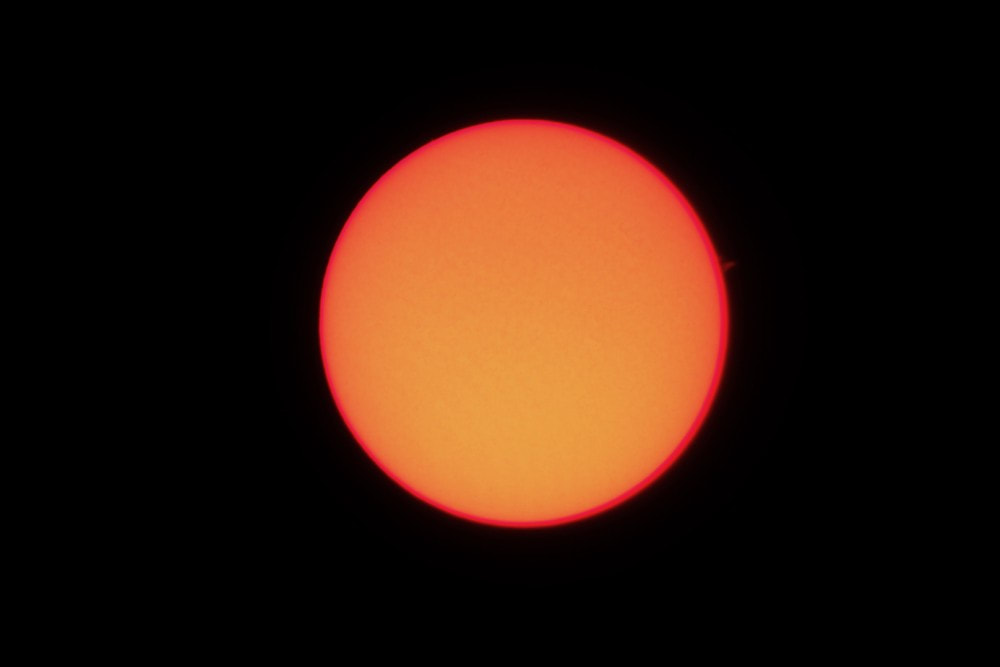
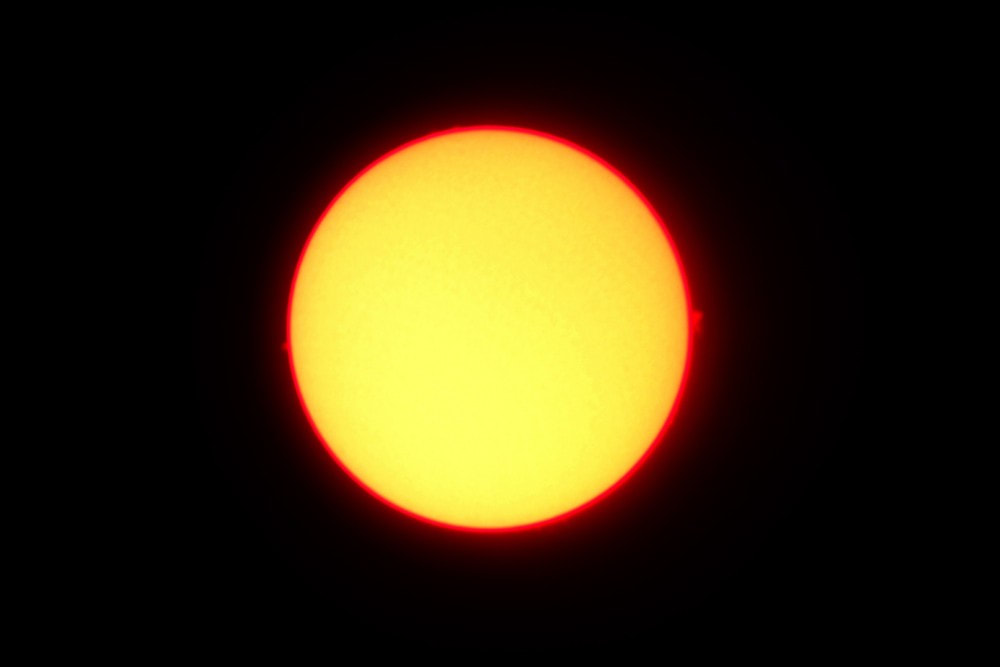
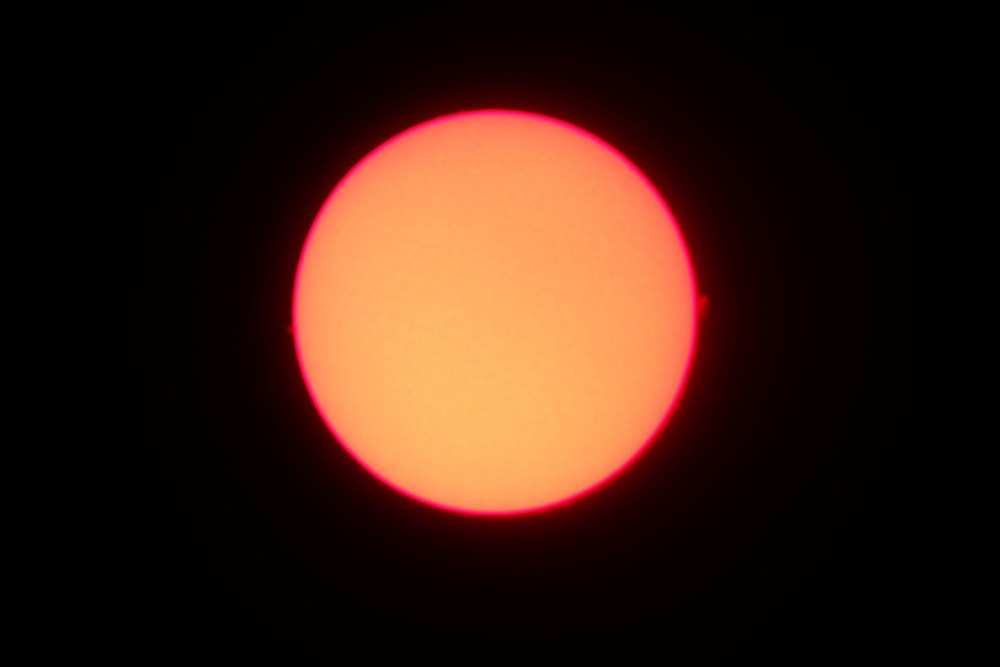
My images are the first attempts with this system, when the weather was favourable. They were taken on the 25/05/2020 and the 31/05/2020. I first tried the Canon 100D camera, but this was awkward to use, because the screen on this can’t be angled and it also blocks H-Alpha with its built in filter, so I opted to use the Canon 60DA DSLR camera, but this is considerably heavier. I used live view to focus the Solar image and set to 100 ISO, as the solar image is quite bright.
What can we see in the images. There are several prominences, which are at the Sun’s limb. If seen on the Solar surface they are known as filaments. These are red glowing loops of hot plasma material following the magnetic field lines and appear suspended above the Sun’s hot Photosphere. The magnetic field is also responsible for Solar Flare activity and Coronal Mass Ejections (CMEs).
The Chromosphere can be seen in these images. This is the layer of the Sun’s atmosphere sitting above the Photosphere of the Sun. It consists of hydrogen, helium and some calcium and envelopes the whole of the Sun’s photosphere. The upper boundary can appear spiky and it has layers.
The colour DSLR camera is not probably the best camera to use to image the Sun and to record that finer surface detail, when conditions are good. The 60DA does not do what other DSLRs do, however, as it does not block the transmission of H Alpha light, so in theory it should be good to use for this. But for the Colour CCD chip only 1 in 4 of the pixels on the sensor detect red light, so it only offers a 1 in 4 sensitivity and half the resolution of a monochrome chip. So using a monochrome camera might be better for some imaging and to achieve better image resolution.
I’m having a little trouble with interference patterns, called Newton’s Rings, and this is because the sensor and the cover slip cause an interference ring pattern. I have read that the solution to this is for the Chip to be tilted to a really small angle to eradicate the effect. Can’t easily do this. This is a problem for both monochrome and colour cameras, though. There are optical accessories available which can be fitted between the DSLR and the telescope by adjusting the angle at which the incident light falls onto the sensor. This eliminates the unwanted Newton’s Rings.
What next?
Well! I will probably have to fork out for the interference pattern correction device, but also I have a spare monochrome camera that might be worth trying to see what results I get with this. Using this monochrome camera, might improve the resolution somewhat, but it is not the equivalent resolution of the DSLR, but the monochrome camera will however magnify the view, so the whole disc of the Sun can’t be viewed this way, unless I use some sort of focal reducer. It is worth a try and see what results I get.
Still on the learning curve with this and quite pleased with first results. Would prefer to record a bit more surface detail, but there is not much of this at this time. The atmosphere needs to be really stable, especially at ground level to get really good results and detail. But I have recorded prominences and the Chromosphere, which you normally can only observe with your eyeballs during a Total Solar Eclipse. I have seen a few of these events and they are well worth travelling to see, as it is quite an experience. During a Total Solar Eclipse you can also observe the hottest part of the Sun’s atmosphere; The Solar Corona.


